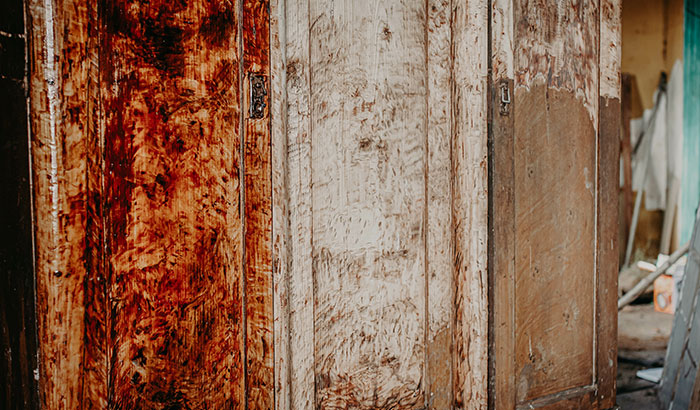
Cabinet restoration is an excellent alternative to replacing your old wood cabinets. If you don’t want to spend money on a replacement or your vision for your home involves your current cabinets, restoring old cabinets is your best choice.
There are plenty of tips that can help your cabinet restoration go smoothly. From cleaning and sanding to varnishing your old cabinets and replacing the hardware, you’ll find that the proper guidance can make all the difference.
Here are eight tips for restoring your old wood cabinets.
- Put Your Protective Measures in Place
The first thing you should do is put down flooring and countertop protection in your kitchen. This protects your home during the renovation process, and covered surfaces can double as working space. Protective measures will also help you avoid damaging your cabinets, which would make the restoration process more difficult.
The best product for these projects is builder’s paper since it’s durable and recyclable, but you can also use canvas drop cloths. Another option is to cover your backsplashes to prevent damage in those areas.
- Make Sure You Clean Your Cabinets
Before you begin your cabinet restoration, you should make sure to clean your cabinets well. You may notice years of grease, dust, and dirt buildup if you don’t regularly clean them. The easiest way to clean your cabinets is to make a solution of water and soap; this should remove most of the buildup and allow you to move on to the next steps.
Tip: If you don’t want to make a mess inside your home, remove your cabinets and clean them outdoors. This can be harder to do if you live in a penthouse or condo without access to a yard, but if it’s an option for you, it’s recommended.
- Strip Old Stain
Once cleaned, you’ll need to strip your old wood cabinets of their existing stain before you get into the sanding process. Paint stripper is relatively cheap, and you should have no problem finding it at any hardware or home improvement store in South Jordan, West Jordan, and the surrounding areas.
It’s highly recommended that you don’t skip this step. Going straight to sanding without removing old staining or varnish can lead you to damage the actual wood on your cabinets.
- Sand Your Old Wood Cabinets
You should sand your old wood cabinets to ensure that your new finish sticks and looks good. Sanding is done to remove the old varnish, but you shouldn’t apply too much pressure or use coarse grit sandpaper, as this can damage the wood.
Use light grit sandpaper to remove the old varnish and any flaws you can remove — this will help your cabinet’s new look once you’ve applied the new varnish.
- Replace the Hardware
Another tip when it comes to cabinet restoration is replacing the hardware. New handles, knobs, and hinges can bring a unique aesthetic to your cabinets and make them feel brand new. Hardware is crucial when tying your cabinets to your home’s style.
- Waterproof Your Cabinets
Water damage can be detrimental to your newly restored cabinets. If you want to protect all your hard work, consider laminating your cabinets to protect them from the possibility of water damage. While buying laminated cabinets can be costly, you can opt for laminate paint since you’re already doing the restoration yourself.
- Have a Style in Mind
As you’re restoring your old wood cabinets, having a style in mind is a good idea. The possibilities are endless when it comes to the aesthetics of your cabinets. Take a look at your home and decide what styles will match the rest of your home.
Alternatively, if you plan on renovating the rest of your home, you have more leeway on your cabinet style and can match the rest of your home according to your newly renovated kitchen.
Here are some popular cabinet styles:
- Crackle: A crackle style gives your home a more rustic, vintage look. You can find “crackling glaze” in various paint stores online and in-store.
- Distressed: This is another rustic-looking option you can achieve with a distressed style by layering colors, spattering paints, and sanding.
- Antiquated: This style differs from a distressed look because it looks less worn and offers a more elegant feel. Old-fashioned looks feature lighter paint colors and more elegant hardware styles.
- High Gloss: A glossy style helps with repelling fingerprints and simulates a metal or glass look if you’re going for a modern feel.
Knowing your visions will make the process much smoother by saving you time at the store and during your restoration.
- Innovate
A cabinet restoration project is the perfect time to elevate your cabinets. Since you’re most likely going to be taking your cabinets apart to clean, sand, and finish them, take this opportunity to see if there are any additions you can make.
For example, you can install pull-out cabinet shelves inside your cabinets for easier access to your pots, pans, and dishes. You can also install cabinet lighting to make it easier to spot things while looking through them.
Another popular addition to the underside of cabinets above your countertops is a plate or glass rack. This is a great way to keep your kitchen organized while saving space inside your cabinets. These racks are trendy for storing wine glasses.
Get Help From the Pros at Allen Brothers Cabinet Painting
Cabinet restoration is the best way to get the most out of your old wooden cabinets, but that doesn’t mean it’s an easy process for everyone. If you’d rather leave the restoration to the pros, give us a call at Allen Brothers Cabinet Painting.
Whether for your home or business, we offer services like painting and refinishing in Centerville and Bluffdale, Utah, that will help you save money and enjoy your newly restored cabinets. Get in touch with us today!

