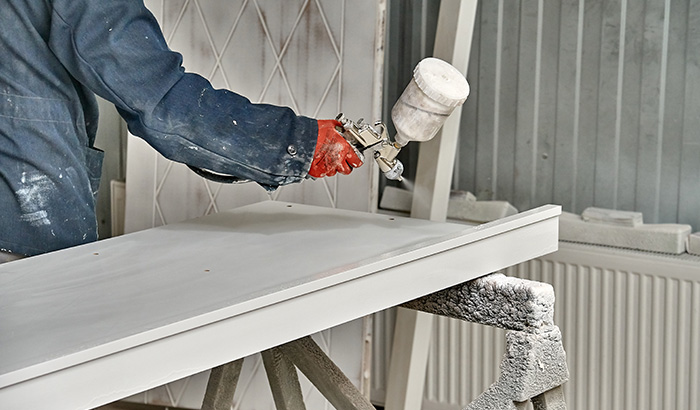
Painting your cabinets is the most effective way to update and transform your kitchen without a major remodel. It’s amazing what a fresh coat of paint can do to make a space feel completely different. Painting cabinets is no small task. It’s extremely tedious and time-consuming, and professionals are the best ones for the job.
But many DIYers choose to paint their cabinets on their own to save a little money. If done incorrectly, it can prove to be a massive headache. So, if you decide to attempt the task on your own, here’s a look at eight steps you should never skip.
1. Remove Doors
It might seem simplest to keep the doors hanging where they are while painting, but that never ends well. Failing to remove the cabinet doors means that you paint over the hinges. The paint on the hinges will inevitably crack and peel and quickly make your cabinets look terrible. That’s why it’s essential to remove the cabinet doors first and move them to a separate workspace like a garage or shop.
This step will make it much easier to paint the doors evenly and help avoid paint drips. This also applies to drawers. You don’t need to remove the drawers’ fronts; just pull the entire drawer out and move it to your painting area.
2. Take Off Hardware
After removing all the doors, the next important step is to remove all the hardware. It’s nearly impossible to paint cabinets and drawers with handles on them, so remove each handle and all of the hinges.
Taping around each hinge will take hours, and it won’t end up looking nearly as good as if you’d simply removed the hardware. Keep track of all the handles, hinges, and screws, so they don’t get lost because you’ll need them when it’s time to reassemble everything.
3. Label Everything
While all of your cabinet doors might be the same sizes, all of the hinges might not be in precisely the same spots. That’s why it’s so important to label each door when it’s removed and label the hinges too. This will make the reassembly process much more manageable.
Use painter’s tape on the inside of the cabinets and the corresponding doors and hardware to make sure everything is easy to identify. Draw a diagram of your kitchen, and then label each cabinet on the drawing and each piece as you remove it.
4. Prep Work
It’s tempting to grab a paintbrush and start painting right on top of the existing cabinet. But if you want this paint job to last for years to come, you’ll need to put in some prep work. The first step in preparing the cabinets is cleaning them thoroughly. Kitchen grease can accumulate over time, and it’s challenging to remove, so use a good degreaser and be patient.
You may need to work in several layers and clean the cabinets multiple times to get them really clean. Next, fill any cracks or holes in your cabinets with wood filler. Finally, sand down your cabinets with fine-grain sandpaper. This will help remove existing finishes and prepare your surface for paint. Make sure you wipe off any dust after sanding so the color goes on smoothly.
5. Primer
The key to long-lasting paint on any kitchen cabinet is primer. Applying a quality primer to the cabinets before painting them will help eliminate peeling and bubbling paint. If you’re going from darker cabinets to lighter, it helps form a barrier over the dark underneath, so the new paint will really stand out. It also gives the paint traction, holding it well to the cabinet’s surface.
6. Paint in Thin Layers
Kitchen cabinets experience a lot of daily wear and tear, so the goal when painting your cabinets is to create a durable and long-lasting finish. And that’s hard to do with thick layers of paint. Thick paint leads to dripping and peeling, which takes way longer to dry. Instead, paint in several thin layers and allow the paint to dry in between each coat. This process takes more time and patience, but it’ll be worth it in the end.
7. Apply Finish
Even the highest quality of paint will chip over time, so be sure not to skip applying a finish to your newly painted cabinets. You might prefer the look of a matte finish, but semi-gloss or satin will make your cabinets much easier to wipe clean. And in a kitchen that probably endures constant food splatter, easy to clean is high on the priority list. A good finish will also help your paint last longer.
8. Let Them Cure
Most cabinets will be dry to the touch in just a few hours, but it takes much longer to allow them to fully cure to a hard finish. Allow at least 48 hours for your cabinets to dry completely. This will help avoid doors and drawers sticking to the cabinet housing and minimize chipping and marking.
Once they are fully cured, you can carefully reassemble and rehang your cabinets. Just use caution when opening and shutting them for the first week since they are still susceptible to damage in the first few days.
Allen Brothers Cabinet Painting Doesn’t Cut Corners.
If you’re ready to ditch the cookie-cutter look and have your kitchen cabinets customized, let the Allen Brothers Cabinet Painting experts take on the challenge for you. Painting your cabinets is a big job; having it done correctly is essential to beautiful and long-lasting paint.
That’s why our team of professional painters never cut corners. We pride ourselves on doing high-quality work in record time, so you can return to using your cabinets faster than you might think. We take on projects in Draper, Utah, and the neighboring cities, including Sandy, South Jordan, West Jordan, and Salt Lake City. Give us a call today for a free quote!

