The Question We Hear Every Single Day
“Do I really need to prime my cabinets before painting?”
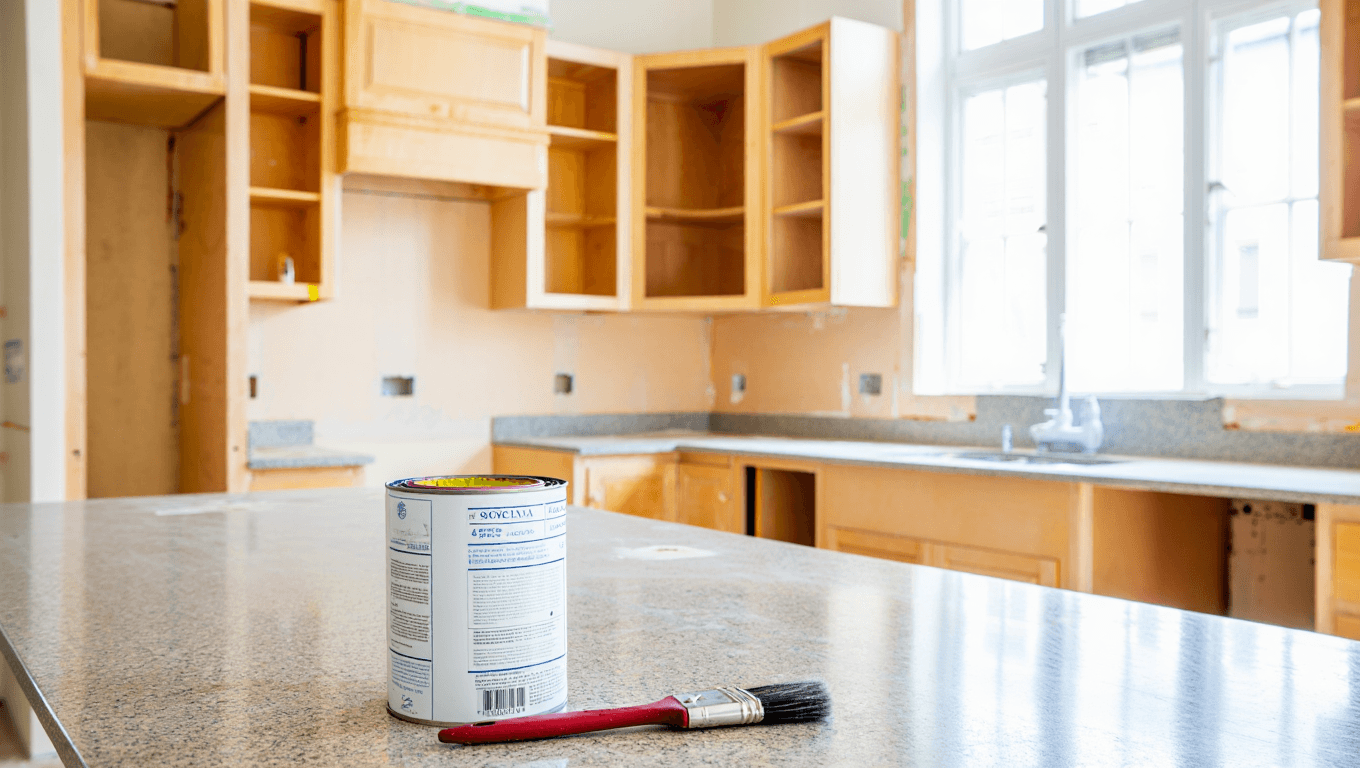
It’s hands-down one of the most common questions we get at Allen Brothers Painting. And we get it, painting kitchen cabinets is already a major undertaking. The idea of adding another step (and another trip to the paint store) is tempting to skip. Maybe you’ve seen a YouTube video where someone painted right over their old finish, and it looked… fine? Or perhaps you’ve been told that modern “paint-and-primer-in-one” products eliminate the need for a separate primer.
Here’s the truth from professionals who’ve painted thousands of cabinets across Utah, from Bountiful to Spanish Fork: Yes, you absolutely should prime cabinets before painting, 99% of the time. This isn’t about upselling you on extra work. Priming is the single foundational step that separates a cabinet paint job that looks factory-fresh in five years from one that’s chipping and peeling in five months.

In this guide, we’ll explain exactly why priming is non-negotiable for a professional finish, what happens when you skip it, and how to choose the right primer for your specific cabinet material.
The Short Answer
Yes.
For a durable, professional finish that lasts, priming is not a “nice to have” it’s an essential foundation. Skipping primer is the single biggest mistake we see in DIY cabinet painting projects. Without it, you’re gambling with hundreds of hours of work and hoping your paint miraculously adheres to a surface it wasn’t designed to bond with. The pros don’t skip primer. Ever. And neither should you.
Why Priming is Non-Negotiable:
Let’s talk about what primer actually does, because understanding the “why” makes the “should I?” question answer itself.
Pro #1: Adhesion
Cabinet surfaces aren’t like drywall. Most kitchen cabinets are covered in slick, smooth finishes, whether it’s factory polyurethane on wood, glossy laminate, or thermofoil. These surfaces are specifically designed to repel liquids (including paint).
Here’s the problem: Paint needs something to grab onto. When you roll paint directly onto a slick cabinet door, you’re asking two incompatible materials to form a permanent bond. Paint wants a slightly porous, textured surface. Your cabinet finish is literally engineered to be the opposite.
Primer solves this. It acts as the intermediary, a bonding layer that grips the slick cabinet surface (often through mechanical adhesion after light sanding) and provides the perfect texture for paint to lock into. Think of it like this: Paint-on-wood = bad. Paint-on-primer-on-wood = good. The primer is the handshake between two materials that would otherwise ignore each other.

Pro #2: Stain & Tannin Blocking (The Bleed-Through Shield)
If you’re painting raw or stained wood cabinets, especially oak, cherry, or knotty pine, this is where primer becomes absolutely critical.
Wood contains natural compounds called tannins. These tannins can migrate through paint over time, causing that dreaded yellowing or brown bleed-through that ruins your beautiful white or light-colored finish. This is especially common in Utah homes with oak cabinets, which are loaded with tannins. You might think you’re in the clear after your first coat looks good, but weeks or months later, you’ll start seeing ghostly brown patches appearing through the paint.
High-quality primers, particularly shellac-based primers, create an impenetrable barrier that locks tannins in the wood. They also block other stains like water marks, smoke damage, and old cooking grease that’s soaked into the wood grain over decades. Without this barrier, you’re playing cabinet roulette.
Pro #3: A Smooth, Uniform Base (The Color Equalizer)
Ever tried painting a light color over dark wood or a dark stain? Without primer, you’ll need four, five, or even six coats of paint to get even coverage. That’s because paint is somewhat translucent, especially lighter colors. The dark base color keeps showing through, creating uneven color and a blotchy appearance called “flashing.”
Primer creates a single, uniform base color, typically white or gray. This means your topcoat paint goes on evenly in just two coats, saving you time, paint, and frustration. Primer also fills in minor wood grain texture, creating that smooth-as-glass surface that makes people ask, “Are these new cabinets?”
The “Cons” of Skipping Primer
Let’s be honest: There aren’t really “pros” to skipping primer. There’s only one perceived benefit (saving an afternoon), and it’s massively outweighed by the consequences. Here’s what actually happens when you skip this crucial step:
Peeling and Chipping (Sometimes in Weeks)
Without proper adhesion, your paint is just sitting on top of the cabinet surface, not bonded to it. Kitchen cabinets take daily abuse, opening and closing, splashes, cleaning with spray cleaners, bumps from cookware. That paint starts lifting at the edges first, then chips away in larger pieces. We’ve seen DIY jobs where the paint was literally peeling off in sheets within a month.
Bleed-Through Appearing Months Later
You finish your project, and it looks great… for now. Then summer hits, the kitchen heats up, and those tannins start their slow migration through your paint. By month six, you’ve got yellow spots or brown patches breaking through your pristine white cabinets. There’s no fix except stripping and starting over with primer this time.

“Flashing” (Uneven Sheen)
Even if the paint adheres, you’ll often see variations in sheen and color. Some areas look glossy, others flat. Some sections look darker or lighter. This happens because the paint is absorbing unevenly into different areas of the bare wood or old finish.
The Ultimate Cost: Starting Over
The worst part? When a no-primer paint job fails, you can’t just slap on primer and repaint. The failed paint often has to be stripped completely. You’ve now wasted all those hours, all that paint, and you’re right back at square one, except now the job is harder because you have to remove the bad paint first. We’ve had countless homeowners here in Utah call us to rescue failed DIY projects, and “I skipped the primer” is the common thread in 80% of them.
Choosing the Right Primer for Kitchen Cabinets
Not all primers are created equal. Picking the right one for your specific cabinet material is just as important as using primer in the first place. Here’s what the pros use, and when.
Shellac-Based Primers
Example: BIN by Zinsser
When to use it: This is our go-to for raw or stained wood cabinets, especially oak. Shellac-based primers block absolutely everything, tannins, water stains, smoke damage, cooking grease, even permanent marker. Nothing bleeds through shellac.
The trade-offs: It has a strong odor (you’ll need serious ventilation), and cleanup requires denatured alcohol, not water. But for wood cabinets, especially if you’re going from dark stain to light paint, this is the gold standard. It also dries incredibly fast, which speeds up your project.
Bonding Primers:
Example: STIX by INSL-X, Extreme Bond by Sherwin-Williams
When to use it: These are engineered for slick, non-porous surfaces that even regular primer struggles to grip, think laminate cabinets, thermofoil, melamine, or glossy factory finishes. Bonding primers use advanced acrylic polymers that create a mechanical lock on even glass-smooth surfaces.
The trade-offs: They’re more expensive than standard primers, and they don’t block stains quite as aggressively as shellac (though many are pretty good). But if you’re painting laminate, this is non-negotiable.
Oil-Based Primers:
Example: Zinsser Cover Stain, Kilz Original
When to use it: Oil-based primers offer excellent adhesion and decent stain blocking. They were the professional standard for decades, and they still work beautifully for wood and previously painted cabinets.
The trade-offs: High VOCs (volatile organic compounds) mean strong fumes and strict ventilation requirements. They also take 8-16 hours to dry and require mineral spirits for cleanup. Many pros have moved away from them in favor of shellac or bonding primers, but they’re still a solid choice if you don’t mind the downsides.

Water-Based (Latex) Primers:
Example: Zinsser Bulls Eye 1-2-3, Kilz Premium
When to use it: These are fine for previously painted cabinets in good condition where you’re not making a drastic color change and there’s no stain bleed-through risk. They clean up with water, have low odor, and dry quickly.
The trade-offs: They’re not tough enough for raw wood kitchen cabinets. Their stain-blocking ability is weak compared to shellac, and their adhesion on slick surfaces is mediocre compared to bonding primers. We rarely use them for cabinets, they’re better suited for walls.
“But What About Paint-and-Primer-in-One?”
We hear this constantly, and the marketing has done its job, these products sound like magic.
Here’s the reality: “Paint-and-primer-in-one” is excellent for drywall. That’s what it was designed for. On freshly sanded drywall, it acts as both a primer and a first coat, saving you a step.
But kitchen cabinets aren’t drywall. Those products don’t contain the bonding agents to grip slick surfaces, and they don’t have the stain-blocking power to lock in tannins. The “primer” aspect refers to the thickness and coverage of the paint, not true primer chemistry. On cabinets, paint-and-primer-in-one will behave exactly like regular paint, which means it won’t stick, it won’t block, and it won’t last.
Professional cabinet painters don’t use paint-and-primer-in-one on cabinets. There’s a reason.
The Bottom Line: Primer is the Difference Between “DIY” and “Professional”
Here’s what we tell every homeowner in Bountiful, Provo, Spanish Fork, and everywhere in between: Priming isn’t the glamorous part of cabinet painting. It doesn’t give you that instant transformation. But it’s the invisible foundation that makes everything else possible.
A properly primed cabinet will look factory-fresh for years. It’ll resist chips, prevent bleed-through, and give you that smooth, flawless finish that makes guests ask if you replaced your cabinets entirely. Skipping primer might save you three hours today, but it’ll cost you the entire project tomorrow.

If you’re ready to transform your kitchen cabinets with a professional finish that lasts, without the stress and guesswork of a DIY project, we’d love to help. At Allen Brothers Painting, we’ve perfected the cabinet painting and refinishing process, and we use the right primers, the right prep, and the right techniques to guarantee results you’ll love for years to come.
Contact us today for a free, no-obligation estimate. Let’s give your kitchen the high-end, durable finish it deserves.
Get a Free Quote
"*" indicates required fields