Last Tuesday, a woman called our office about refinishing her cabinets. Ten minutes into the conversation, I realized her cabinets did not need painting at all. They needed a good cleaning and maybe 20 minutes of touch-up work.
She had been ready to spend thousands of dollars because she thought her cabinets were ruined. They were not. They were just dirty.
After working with Allen Brothers Cabinet Painting for the past eight years, I have seen this pattern repeat itself dozens of times. Homeowners look at their greasy, dull cabinets and assume it is time to replace them or at least refinish them completely. But here is what most people do not realize: those cabinets above your stove that look terrible right now probably just need the right cleaning approach.
I am going to walk you through exactly how to clean wooden kitchen cabinets the way we teach our customers to maintain their newly painted cabinets. . This is what actually works based on maintaining over a thousand cabinet refinishing jobs across Salt Lake, Davis, Utah, and Weber counties.
Why Regular Cabinet Cleaning Actually Matters
Wood cabinets are not like countertops. You cannot just wipe them down with whatever cleaner is under your sink and expect good results. I learned this the hard way during my first year here.
A customer called six months after we had painted her cabinets with our Benjamin Moore product. She was upset because the finish was yellowing near the stove. When I drove out to look at them, I found out she had been using Clorox wipes every single day. The harsh chemicals in those wipes had broken down the finish and caused discoloration.
That cabinet job was only six months old. The finish should have lasted years.
Wood cabinets, whether painted or stained, have a protective finish that keeps the wood looking good and protected from moisture. When you use harsh cleaners or abrasive scrubbing, you slowly wear away that protective layer. Once that happens, you end up with cabinets that stain easily, show water damage, and look worn out even though the wood underneath is perfectly fine.
Regular, proper cleaning does two things. It removes the buildup that makes cabinets look old and dull. And it preserves that protective finish so your cabinets can last decades instead of looking tired after just a few years

Understanding Your Kitchen Cabinet Finish Before You Start Cleaning
Not all cabinet finishes are created equal, and that matters more than most homeowners realize.
We work with two main types of finishes at Allen Brothers. Our premium option is Milesi 2k Polyurethane, which uses the same technology that goes on cars. It is incredibly durable and resists water, impacts, and daily wear better than almost anything else out there. Our other option is Benjamin Moore Satin, which is also tough but requires slightly gentler care over time.
Here is why this matters, if your cabinets are painted, the finish is doing most of the heavy lifting to protect the wood. That finish is also what gives your cabinets their smooth, wipeable surface. When that finish gets damaged from harsh chemicals or rough scrubbing, everything underneath becomes vulnerable.
Stained cabinets work a bit differently. The stain soaks into the wood, and then a clear protective coat (usually polyurethane or lacquer) gets applied on top. That clear coat is what you are actually cleaning when you wipe down stained cabinets.
The big difference? Painted finishes can often handle more moisture than stained finishes, especially if we are talking about older stained cabinets where the finish has started to wear thin in high-traffic areas. But both types need the same basic approach: gentle cleaning that removes dirt without attacking the protective layer.
One thing I will say about our 2k Polyurethane finish compared to Benjamin Moore is that the 2k is more forgiving if someone accidentally uses the wrong cleaner once or twice. I have seen 2k finishes bounce back from some questionable cleaning choices. The Benjamin Moore product is fantastic, but it is less tolerant of harsh chemicals over time.
If you are not sure what finish is on your cabinets, assume it needs gentle care. You will be right 95% of the time

The Right Cleaning Supplies to Clean Wooden Kitchen Cabinets
This is where most people go wrong, so I am going to be very specific about what works and what does not.
We tell every single customer the same thing after we finish a cabinet painting job: use mild liquid dish soap and water. That is it. Not some special cabinet cleaner that costs 15 dollars a bottle. Not the fancy orange oil stuff. Just regular dish soap that you already have next to your sink.
Why dish soap? Because it is designed to cut through grease without being harsh enough to damage protective finishes. It rinses clean without leaving residue. And it is gentle enough to use every single day without slowly wearing down your cabinet finish over time.
Here is what you absolutely should not use:
Clorox wipes, Lysol wipes, or any disinfecting wipes. I know they are convenient. I know everyone has them. But the chemicals in those wipes will cause painted cabinets to yellow over time, and they can dull or cloud protective clear coats on stained cabinets. I have seen this happen over and over. Customers love those wipes because they are fast, and six months later they are calling us asking why their white cabinets look cream-colored now.
Magic erasers are also on the banned list. They work by being mildly abrasive, which means they are literally sanding away a tiny layer of your cabinet finish every time you use them. Sure, they remove marks really well. They also remove your finish.
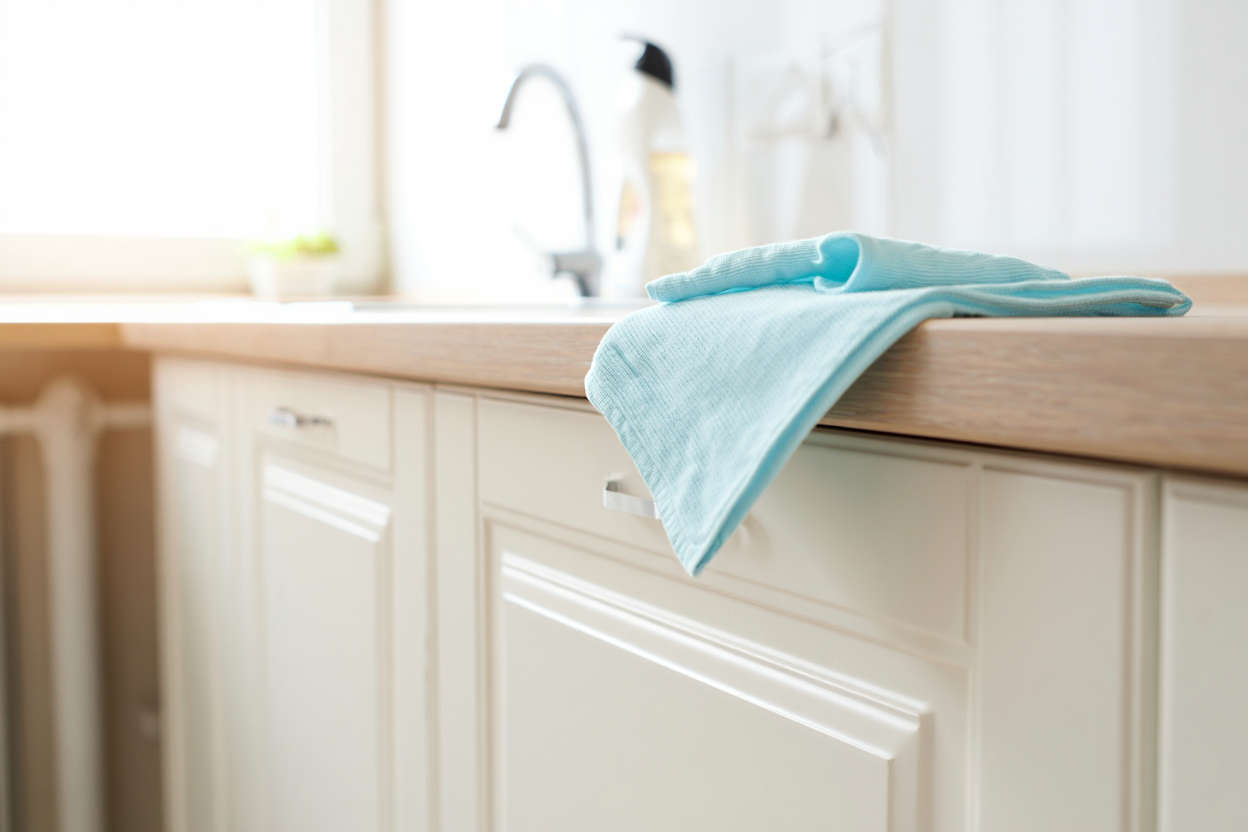
For supplies, you need three things: a bottle of liquid dish soap, two microfiber cloths, and a small bowl of warm water. That is the whole kit.
The microfiber cloths matter more than you would think. Regular cotton towels or paper towels can leave lint behind or be rougher on the finish than you want. Microfiber is soft, absorbent, and does not scratch.
One cloth is for washing. One cloth is for drying. Keep them separate. The drying cloth should always stay completely clean and dry until you are ready to use it.
If your cabinets have heavy grease buildup, especially the ones right above the stove, you might need something stronger for that first deep clean. We recommend Krud Kutter Original Degreaser. You can find it at Home Depot, Lowe’s, or Walmart for about eight dollars.
Here is the thing about degreasers, though. You only use them when you have actual grease buildup. Not for regular cleaning. Once you get that heavy grease off, you go back to dish soap and water for everything else

Step-by-Step Process for Cleaning Wooden Kitchen Cabinets
I am going to give you two different approaches here. One is for regular maintenance cleaning that you should do weekly or every couple weeks. The other is for deep cleaning when your cabinets have not been properly cleaned in a while.
Weekly Maintenance Cleaning
This takes about 15 minutes if you have an average-sized kitchen.
Fill your bowl with warm water. Not hot, just warm. Add about three drops of liquid dish soap. You do not need much. More soap just means more rinsing later.
Take your washing cloth and dip it in the soapy water. Wring it out really well. The cloth should be damp, not dripping. Excess water is the enemy here because it can seep into seams between the cabinet frame and door panels, and that is how you end up with swelling or separation down the line.
Start at the top cabinets and work your way down. Why? Because dirty water and drips will run downward as you clean, and you do not want to re-dirty cabinets you already cleaned.
Wipe in the direction of the wood grain if you can see it, or if your cabinets are painted, just use smooth, even strokes. No scrubbing. You are removing surface dirt and light grease, not trying to sand off a finish.
Pay extra attention to the areas around cabinet handles and knobs. Those spots get touched constantly and build up oils from hands faster than anywhere else.
For the cabinet doors, do the fronts first, then the edges. People often forget about edges, but that is where grime builds up.

After you finish washing a section, immediately take your dry microfiber cloth and wipe everything dry. Do not let water sit on the cabinets to air dry. That can leave water spots or, worse, allow moisture to work its way into the wood over time.
The whole process is: wash a section, dry that section, move to the next section. Do not wash all the cabinets and then come back to dry them all. That defeats the purpose of drying immediately.
Deep Cleaning for Neglected Cabinets
If your cabinets have visible grease, sticky spots, or have not been cleaned in months (or years), you need a more thorough approach.
First, tackle that grease above the stove. This is where most cabinets look the worst because grease literally jumps from the cooking surface and lands on the cabinet doors and especially on the very top edge where you probably never look.
If you are using a degreaser like Krud Kutter, spray it directly on the greasy areas. Let it sit for about 30 seconds to one minute to break down the grease. Then wipe it away with your damp cloth. You might need to do this twice on really bad spots.
Important: after using any degreaser, you must go back over those areas with your regular soap and water to remove any degreaser residue. If you skip this step, the degreaser residue will attract more dirt and you will end up with cabinets that get dirty faster.
Once you have dealt with all the problem areas, go through the regular cleaning process on every single cabinet door, drawer front, and cabinet box. Yes, this takes time. Plan on spending 45 minutes to an hour for a full kitchen.
When you are done, step back and look at your cabinets from different angles. You will often see streaks or spots you missed the first time through. Hit those with your dry cloth.
Special Situations and Common Problems
Dealing with Stubborn Water Spots
Water spots usually happen when you let water air dry on cabinets instead of wiping them dry immediately. They show up as cloudy white marks, especially on darker finishes.

For fresh water spots, rewet the area with your damp cloth and then dry it immediately with your dry cloth. That usually takes care of it.
For older water spots that have set in, you can try a 50/50 mixture of white vinegar and water. Dampen your cloth with this mixture, wipe the spot gently, and then immediately dry it. The vinegar can help dissolve mineral deposits that cause water spots. But do not use this vinegar solution regularly. It is acidic and can eventually dull your finish if you overuse it
When You Need to Touch Up Paint
Sometimes cleaning reveals small chips or scratches in painted cabinets that you did not notice before. This happens. Painted cabinets are durable, but they are not indestructible.
We leave all our customers with touchup paint for exactly this reason. If you have painted cabinets and you got touchup paint when they were finished, use a tiny artist brush for any small repairs. Keep the touchup as small as possible. The goal is to fill in the damaged spot, not paint over a big area.
Common Questions on How to Clean Wooden Kitchen Cabinets
How often should I clean wooden kitchen cabinets?
For the cabinets above the stove, weekly. For everything else, every two weeks if you cook regularly. If you rarely cook, once a month is probably fine. But do not go longer than that.
What about using vinegar and water for regular cleaning?
Vinegar is acidic. Used occasionally for specific problems like water spots, it is fine. Used regularly, it can dull your finish over time. We do not recommend it as a daily cleaner.
Can I use steam cleaners on cabinets?
No. Steam cleaners put way too much moisture into the wood and can cause swelling, warping, or separation in joints. The heat can also soften some finishes. Just do not.
My cabinets are yellowing near the stove. Can cleaning fix that?
Probably not. Yellowing usually means either the finish has been damaged by harsh chemicals or heat exposure has discolored the finish. Sometimes grease buildup can make cabinets look yellowed, and cleaning will help that. But true yellowing in the finish itself cannot be cleaned away. Kitchen Cabinet Repainting would be the best solution
Can I refinish just the doors and not the cabinet boxes?
When we refinish kitchens, we do everything so the color and finish are uniform across all visible surfaces.
Give your cabinets the maintenance they deserve. Use dish soap and water. Dry them properly. Avoid harsh chemicals. Do that consistently, and you will be surprised how long they stay looking good.
And when they eventually need more than cleaning can provide, at least you will know the wood underneath is in great shape because you took care of it properly all along.
Get in touch with us for any kitchen cabinet refinishing questions
Get a Free Quote
"*" indicates required fields